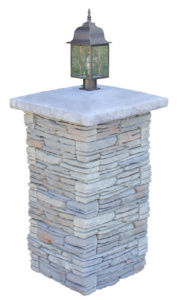
Find a desired installation area
Step 1 – Excavation
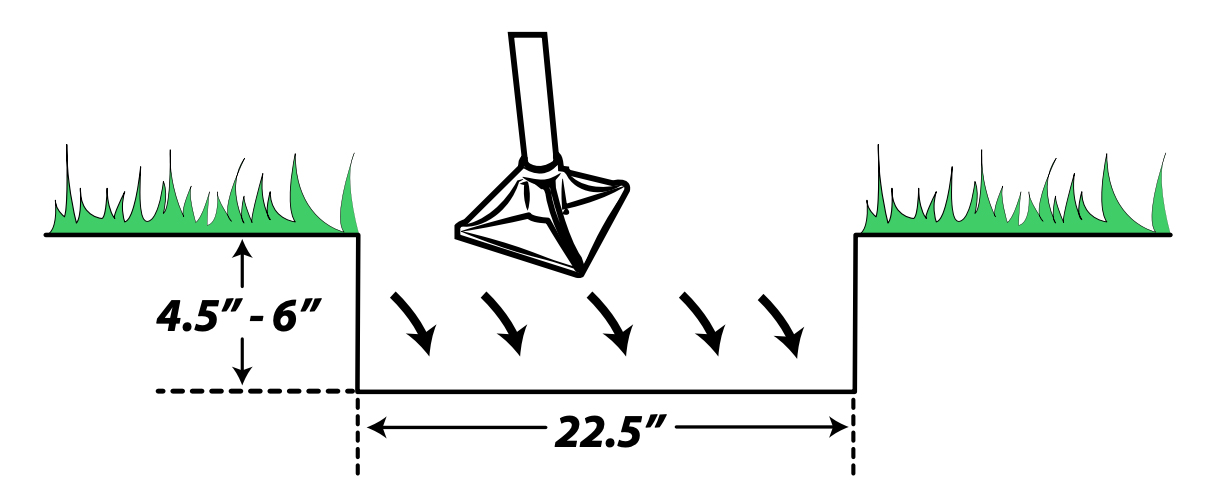
Mark out an area that measures 22.5 x 22.5. Excavate the designated area to a depth of 4” to 6” and compact the bottom with a hand tamp. *Lay conduit and wiring for lighting in accordance with applicable laws. (If using light cap)
Step 2 – Set the Base
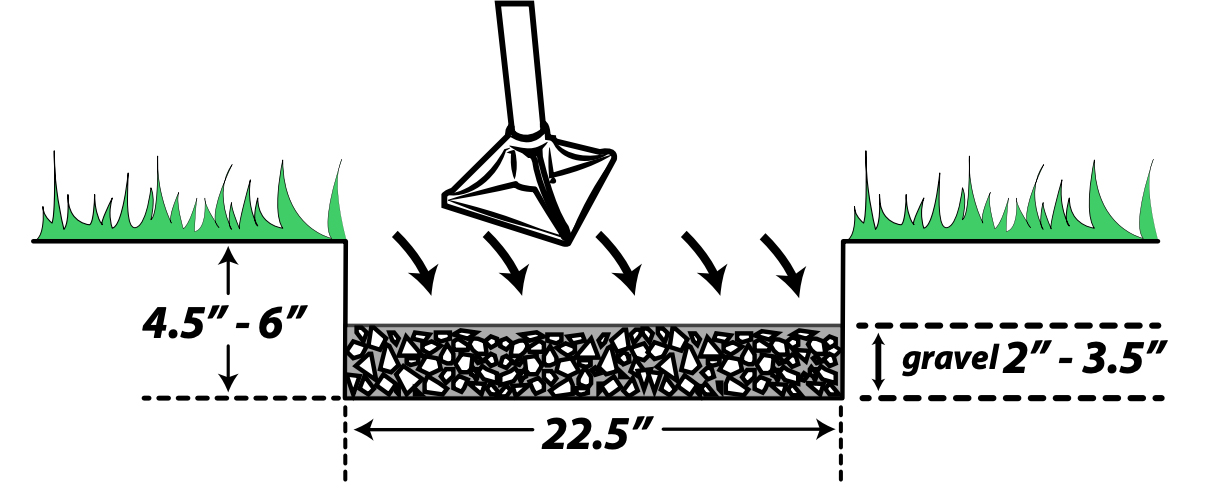
Fill in the base with approximately 1” of gravel and compact down. Repeat step until there is approximately 2”- 3.5“ of compacted level gravel of base. *a permanent method would be to use 3 bags (40 Lbs) of QUIKRETE concrete mix in place of the gravel.
Step 3 – Sand
Spread a 1/2’ layer of paver sand and level it out.

Step 4 – First Course
Lay the blocks directly onto the prepared sand base. Use a level and a rubber mallet to make sure the blocks are level. *Not every block is identical in height and thickness. Choose blocks for layers with similar size.
It is recommended to let the adhesive or mortar set, between each layer. (approx 15 mins)
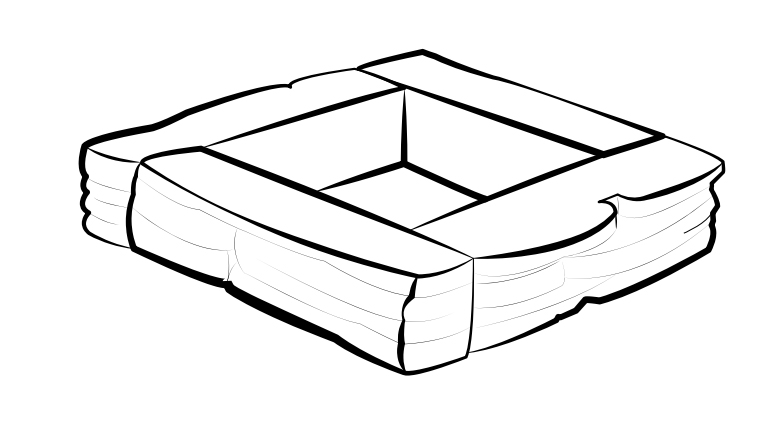
Step 5 – The Rest of the Layers
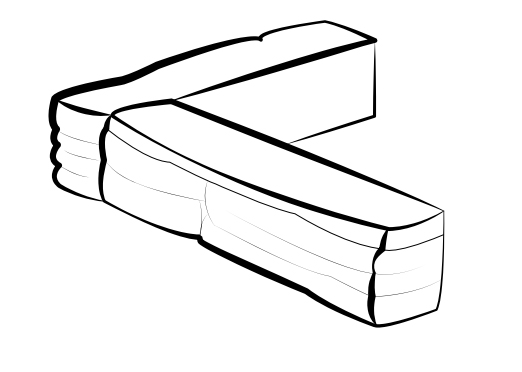
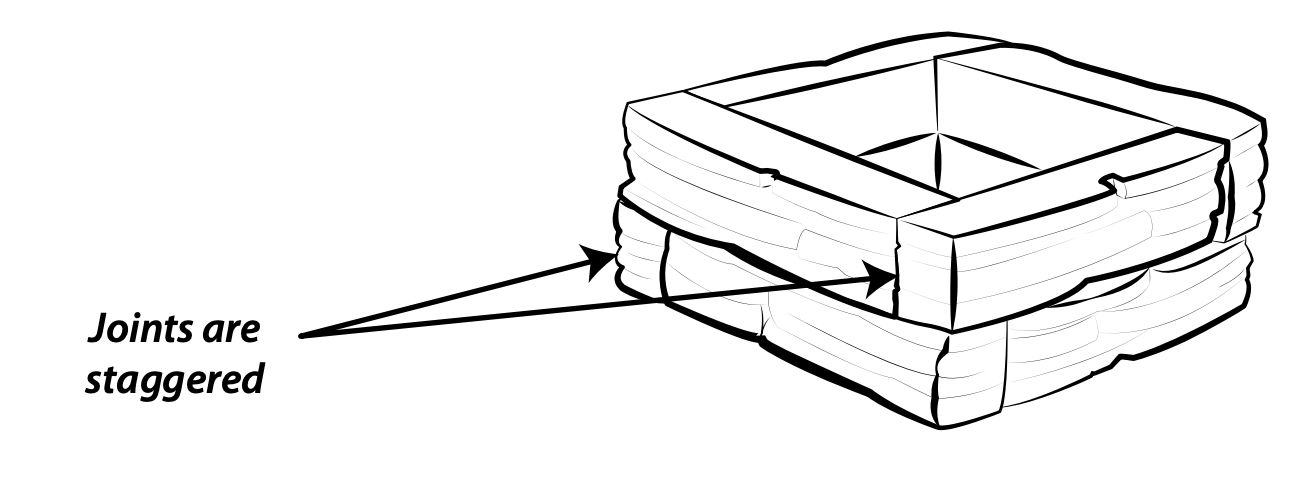
The next course is stacked by overlapping the joints with the lower layer. Apply masonry adhesive or mortar between the blocks.
Repeat the steps for the remaining layers to reach the desired height.
Step 6 – Cap
Apply masonry adhesive or mortar to the top most blocks and place the cap directly on top. Measure all sides and make sure there is equal distance overlapping. adjust accordingly.
